Why Replacing Old Windows Can Be a Smart Upgrade
Windows are more than just glass. They help keep your home warm in the winter and cool in the summer. Over time, windows can wear out, leak air, or stop working properly. That’s when it might be time for a change. If you’re wondering how to install replacement vinyl windows, this guide will walk you through the steps. Replacing windows can make your home more comfortable and save money on energy bills. It can also make your house look better from the outside. Vinyl windows are a popular choice because they are strong, easy to clean, and last a long time.
Understanding Vinyl Windows and Their Growing Popularity
Vinyl windows are made from a plastic called PVC. This material is tough, doesn’t rot like wood, and doesn’t rust like metal. That’s why many homeowners like them. They come in different shapes, colors, and styles. One big reason people choose vinyl is because of energy efficiency. These windows help keep heat inside during winter and outside during summer. Vinyl windows don’t need to be painted, and they’re easy to clean with soap and water. They also cost less than wood or fiberglass windows, which makes them a smart option for families wanting to upgrade without spending too much.
Before You Begin: Tools and Materials You’ll Need for the Job
Before you start, gather everything you need. The job is easier when your tools and materials are ready. You’ll need:
- A measuring tape
- Level
- Utility knife
- Hammer or pry bar
- Screwdriver or power drill
- Screws
- Caulk and caulk gun
- Shims (small wood pieces to help level the window)
- Insulation (spray foam or fiberglass)
- Safety glasses
You’ll also need your new replacement windows and maybe some trim or stops if your old ones are damaged. These items help secure the window in place and seal out drafts.
Measuring the Opening for Your New Vinyl Window
Before you order or install your new window, you have to measure correctly. This is called the rough opening. Use your tape to measure from the inside edge of one side of the frame to the other—this is your width. Then measure from the bottom sill to the top of the frame for the height. Do this in three places each and use the smallest numbers. That’s the size of the window you need. Measuring correctly ensures your new vinyl unit will fit tightly, with no big gaps. A good fit helps avoid air leaks and keeps your window secure.
Step-by-Step Guide: How to Install Replacement Vinyl Windows
Let’s break this down into easy steps:
- Remove the old window: Take off the inside stops carefully so you can reuse them. Pull out the old window sashes.
- Clean and prep the frame: Scrape off old paint or caulk. Make sure there’s no damage or rot. If there is, it must be fixed first.
- Dry-fit your new window: Place the new vinyl window in the opening to check the size.
- Apply caulk: Run a bead of caulk on the outside edges of the frame where the new window will sit.
- Insert the window: Carefully place the new window into the opening.
- Use shims to level it: Check if it’s level using your tool. Insert shims if needed.
- Secure with screws: Drive screws through the sides of the window frame into the house wall. Don’t over-tighten.
- Check for gaps: Fill any spaces with insulation. Don’t pack too tightly.
- Reattach interior stops or trim: Put the stops back on or install new trim if needed.
- Seal the outside: Use caulk around the edges of the window to seal out air and water.
Take your time at each step to make sure everything is level and tight. This will help your new vinyl windows last a long time.
Removing the Old Window Without Damaging the Frame
The first big step is to remove the old window. Start by taking off any blinds, curtains, or hardware. Next, use a utility knife to cut through old paint or caulk. Then use a pry bar or hammer to gently remove the inside stops. Save these if they are in good shape—you can reuse them. Carefully remove the sashes from the window. Some windows may have screws or nails that need to come out too. Be gentle so you don’t damage the frame, sill, or trim. You want to keep the frame in place for the new vinyl window to fit into.
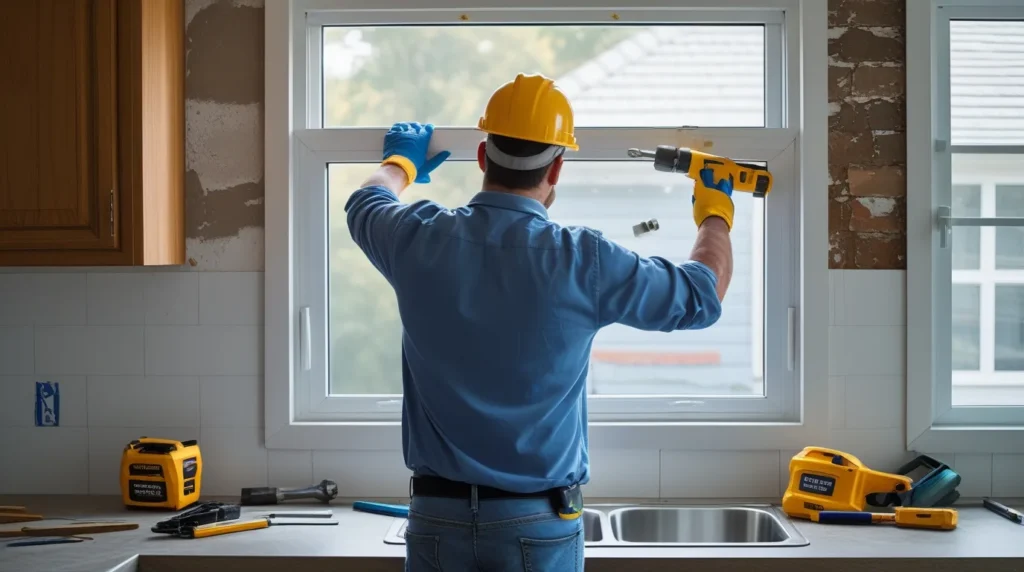
Placing and Securing the Replacement Unit Properly
Now it’s time to place the new window. First, dry-fit the window by setting it into the opening to make sure it fits well. Next, run a thin line of caulk along the back of the window flange or the edges of the frame. Carefully slide the window into place, checking from the inside and outside to make sure it’s centered. Use a level to make sure it sits straight. If needed, use shims on the sides or bottom to adjust. Once it’s perfect, drive screws through the holes in the window frame to lock it into place. Make sure you follow the window manufacturer’s instructions too.
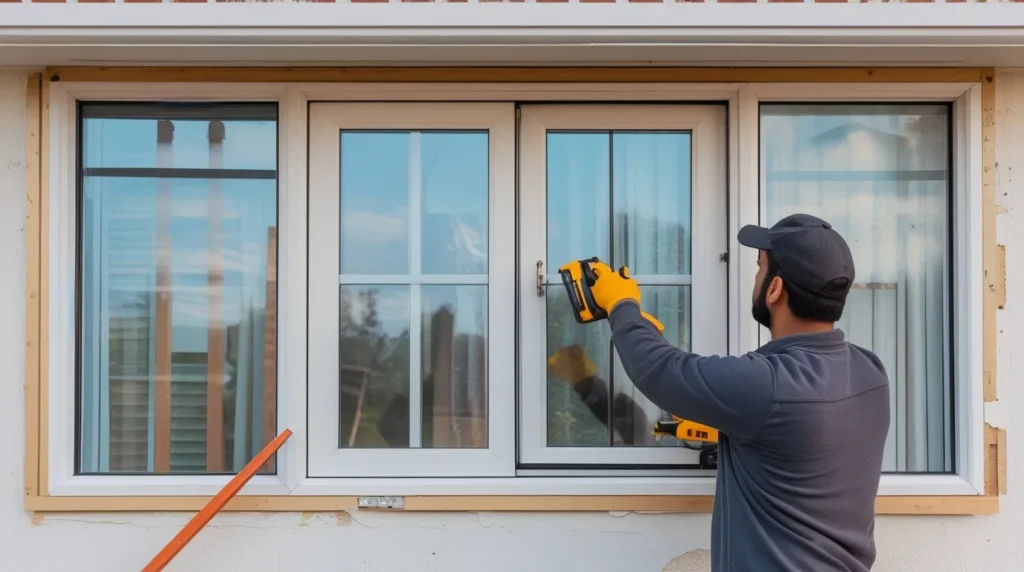
Sealing, Caulking, and Insulating for Maximum Energy Efficiency
This is one of the most important parts of the job. A window that isn’t sealed well can let in drafts, rain, or even bugs. After the window is screwed in place, look for any gaps between the window frame and the wall. Fill these with spray foam insulation or fiberglass strips. Don’t overfill. You just want to block air and moisture. Then, use a caulk gun to run a bead of caulk around the outside edge of the window. Choose a waterproof caulk that works for vinyl. Smooth it with your finger or a tool. Inside, you can use caulk to seal small gaps and give your trim a clean finish.
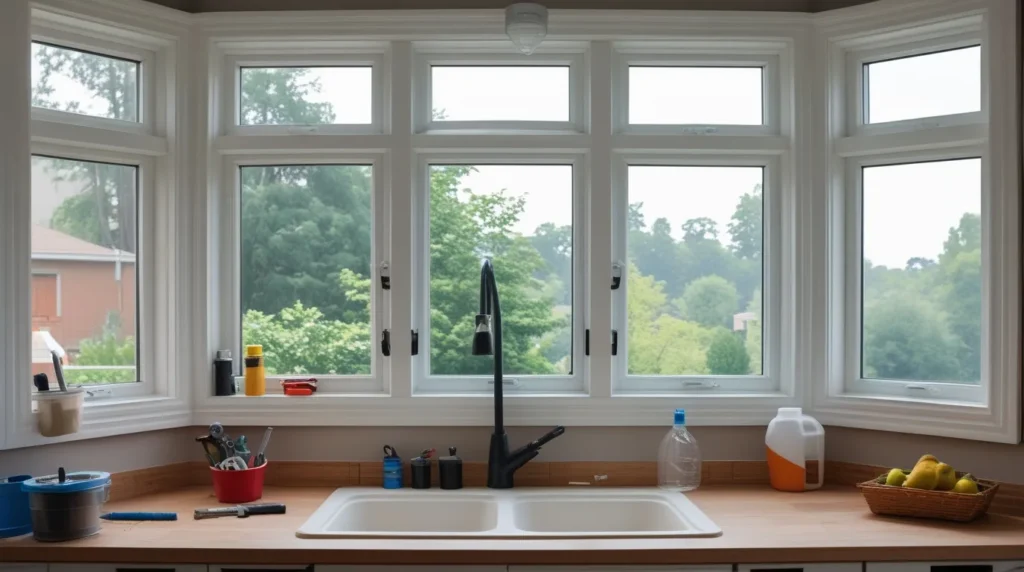
Interior and Exterior Finishing Touches: Trim, Stops, and Clean-Up
Once the window is in, it’s time to finish the look. Put the inside stops or trim back into place. If the old ones don’t fit or are damaged, you can buy new trim that matches your home. Nail it in gently and use caulk to fill any seams or gaps. Wipe off any extra caulk and clean the glass. Outside, check the window edges and add more caulk if you see any gaps. Make sure water can’t get in. Finally, open and close the window to make sure it works smoothly. Congratulations—you just installed a new vinyl window!
When to Call a Pro: Installation Services in McKinney
Sometimes it’s best to let a pro handle the job. If your window frames are damaged or if your home has unique construction, you might need expert help. Also, very large or high windows can be dangerous to handle on your own. In those cases, hiring a licensed installer is a smart move. Three Brothers Windows and Siding LLC offers trusted installation services that handle everything from measuring to cleanup. They make sure your vinyl replacement windows are installed safely, correctly, and built to last. It’s also helpful if you need advice on which window options are best for your home.
Get Peace of Mind with Trusted Window Installation Help
Installing vinyl windows yourself can be a great DIY project if you follow the right steps. With the right tools, a little time, and some care, you can make your home more energy efficient and beautiful. But it’s also okay to get help if the project feels too big. With expert advice, proper materials, and careful work, you’ll get results that last for years.
If you’re ready to start your next home improvement project, Three Brothers Windows and Siding is here to help. With reliable service and high-quality work, we make window installation easy and worry-free.
Let’s make your home better, one window at a time. Reach out today and get your free quote from a team you can trust.